
Schedule Zoom Meeting
Zoom is a video conferencing software used for conducting face-to-face real-time video conference calls. It’s designed for hosting webinars, virtual conferences, teaching on-line courses, conducting on-line coaching, video demonstrations, and video conferencing.
Zoom integrates video conferencing, on-line conferences, and cluster electronic communication into one cloud-based platform. It is very useful for little, medium and large businesses, healthcare organizations, academic establishments, enterprises, finance, government and more.
Schedule Zoom Meeting
Zoom is built to host and broadcast conferences that will accommodate up to 100 interactive video participants and 10,000 view-only attendees. It offers quality video, audio, and screen-sharing capabilities. It is very easy to use.
Zoom improves collaboration among groups, remote staff, and participants as they’re able to begin and be part of a meeting instantly with simply one-touch of their mobile devices or browsers. It also facilitates content sharing in the wireless mode because it enhances remote access to webinars and web conferences.
Zoom is all about video conferencing and the webinar feature is a prominent functionality of this tool. A webinar can cater for 100 interactive video participants with up to 10,000 view-only attendees.
Users can invite other participants to join the webinar session. This is done by the use of a URL link which is generated by the software. You can copy the URL link and paste on any of your social media pages to invite participants. You can as well send the link directly to someone which you want to invite via email.
Zoom enables the dynamic hosting of webinars. It has a dual-screen support system that allows the viewing of both panelist’s screen and presentation screen. Its video quality and voice quality are in HD, making the video and audio very clear. It also has a dynamic voice detection functionality.
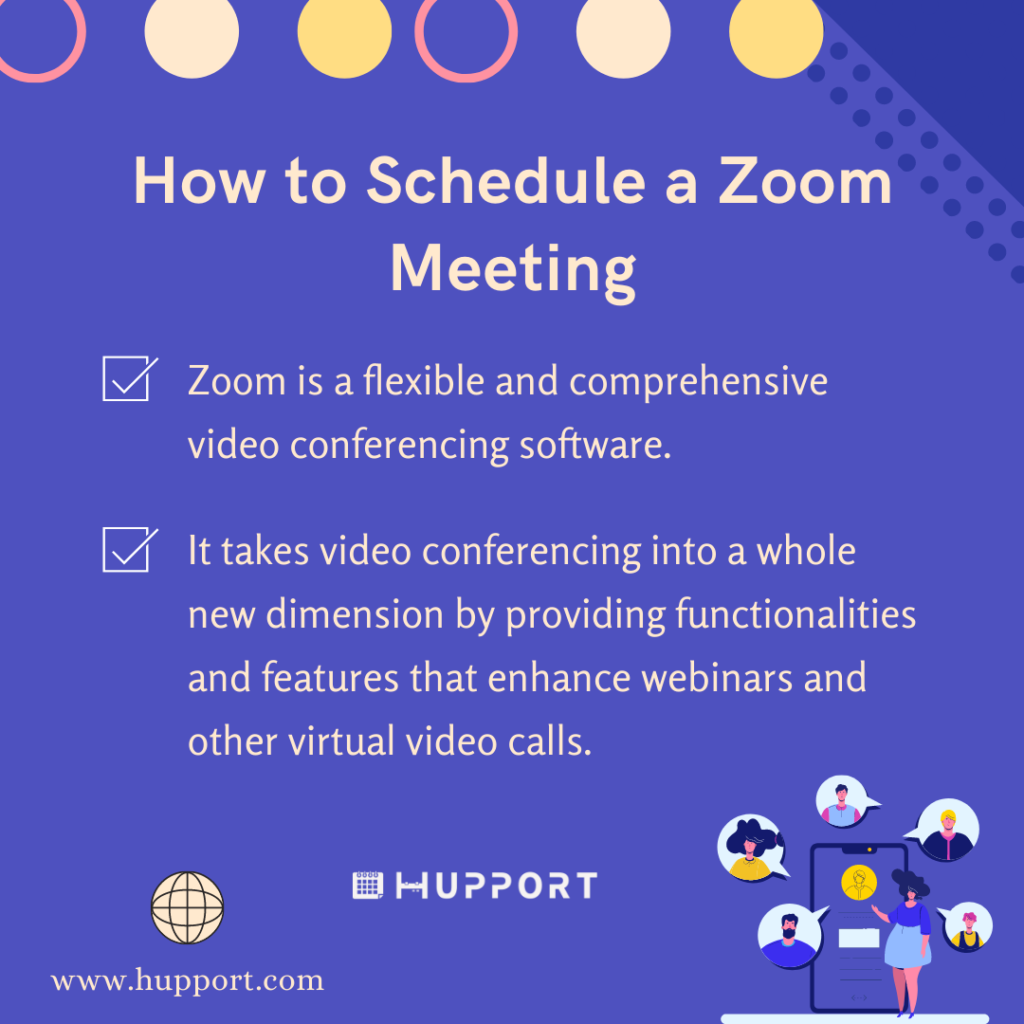
Zoom is a flexible and comprehensive video conferencing software. It takes video conferencing into a whole new dimension by providing functionalities and features that enhance webinars and other virtual video calls.
Step by Step Tutorial on How to Schedule a Zoom Meeting
One of the many great features of this software is the ability for users to share their desktop screen. As a user, you can share your entire desktop screen with your audience.
Another great feature of Zoom is its group collaboration functionality. Users can create groups and instantly send text, images, or audio files to the members of those groups.
Users can also invite others to join their group. Users can instantly share files such as documents, photos, or video clips through its drag and drop capability.
It also allows for group video meetings. Users can conduct group video meetings and the host of the meeting can screen-share files from his/her desktop or mobile devices to other participants.
Users can also record and store their virtual meetings. Every meeting or video sessions can easily be recorded and stored for future references. During a meeting or video session, users can track the engagement of participants with the attendance indicator.
Zoom has many benefits for organizations and individuals. It helps to improve teamwork and collaboration between employees. It helps to enhance communication and strengthen work relationships between businesses, clients, and partners.
How to schedule a Zoom meeting?
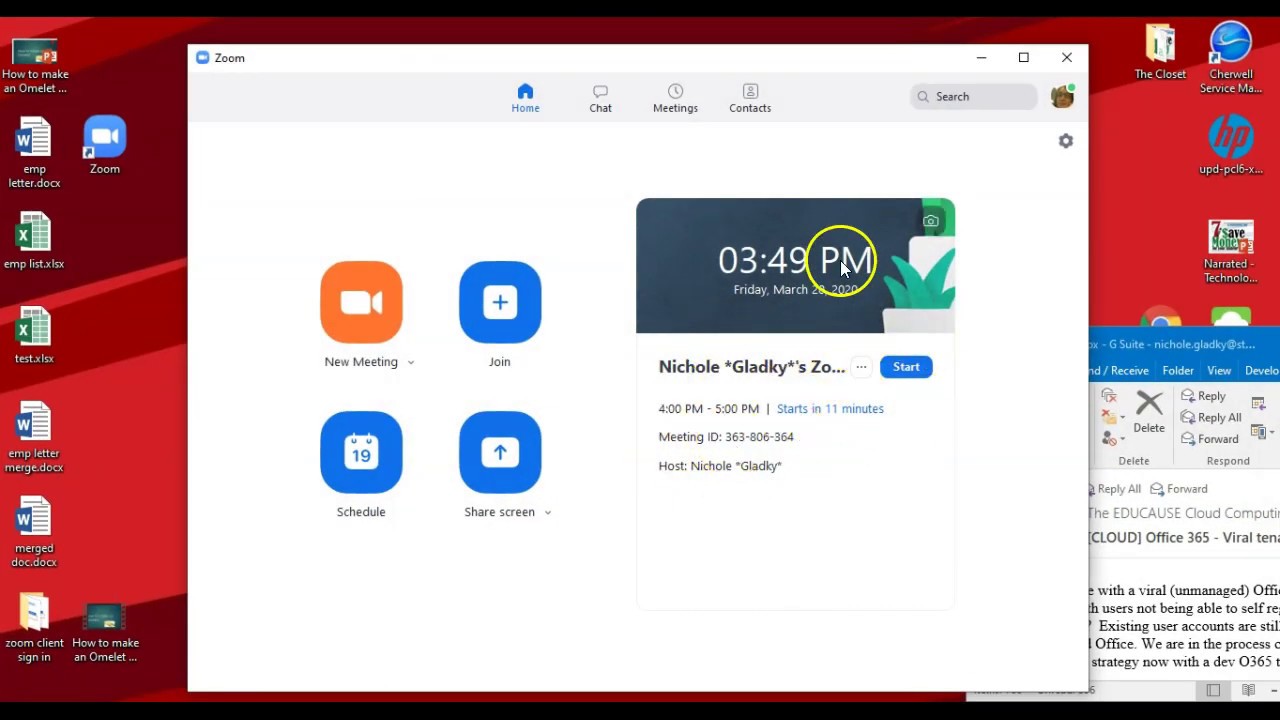
Scheduling a meeting on Zoom is very easy. Only a host can Schedule Zoom Meeting and have control over the options for the scheduled meetings.
We are going to take you through the step-by-step way of scheduling a meeting in Zoom.
1: Open Zoom and sign in with your email address and password. If you do not have a Zoom account already, you can sign up to create an account.
2: Click on the “Schedule a Meeting” icon.
3: Select the meeting settings
4: Enter the topic or name of your meeting.
5: Enter the date and time of your meeting.
6: Enter the duration of the meeting. Note that the meeting will not end after the length of time that you entered. This is only for scheduling purposes.
7: Choose your time zone. By default, Zoom will use your computer’s time zone but you can select a different time zone from the drop-down menu.
8: Tick “recurring meeting” if you want to have recurring meeting sessions. If you tick on “recurring meeting”, the meeting ID will remain the same for each meeting session.
9: On the video, put on the “Host and Participant” icon. This will allow you and other participants to have a video conference session. The host and participants also have the option to turn on start their video even if you choose to turn this off.
10: On the Audio, choose whether to allow users to call in via Telephone only, Computer Audio only or Telephone and Computer Audio.
11: On the Options, you can choose if you want participants to join the meeting with a password. If you select the option, participants will be able to join a meeting with the meeting password.
12: On the Calendar, you can choose any of the calendar options to add to your schedule.
13: On the “Meeting Options”, you can choose if you want to Enable join before host, Mute participants upon entry, Enable waiting room or Record the meeting automatically on your computer. You can select any or all of the options according to your preference.
13: Click on “Save” to save the meeting.


What is iCaledar? Where is it on iPad? I cannot disable password. How do I disable “Require meeting Password? “.